
Kubernetes has become the go to standard for production container orchestration, empowering tech bros to manage and scale containerized applications seamlessly. While deploying Kubernetes on a production environment can be complex, setting up a local Kubernetes cluster for testing and development is made easy with Minikube.
In this article, we’ll walk you through the process of creating your local Kubernetes cluster using Minikube, a lightweight tool that enables you to run a single-node Kubernetes cluster on your local machine to experiment and deploy applications locally, making it easy to test Kubernetes features, develop applications, and learn about Kubernetes without the need for a full-scale production environment.
Installing minikube
If you are running a Linux:
$ curl -LO https://storage.googleapis.com/minikube/releases/latest/minikube-linux-amd64
$ sudo install minikube-linux-amd64 /usr/local/bin/minikube
If you are running windows just go to linux, follow the docs.
Starting your cluster
Starting your cluster is a breeze! Once you have Minikube installed on your local machine, it’s time to launch your Kubernetes cluster. Open a terminal, and simply run the command:
$ minikube start
😄  minikube v1.30.1 on Ubuntu 22.04
✨  Automatically selected the docker driver
📌  Using Docker driver with root privileges
👍  Starting control plane node minikube in cluster minikube
🚜  Pulling base image ...
🔥  Creating docker container (CPUs=2, Memory=3900MB) ...
🎉  minikube 1.31.1 is available! Download it: https://github.com/kubernetes/minikube/releases/tag/v1.31.1
💡  To disable this notice, run: 'minikube config set WantUpdateNotification false'

🐳  Preparing Kubernetes v1.26.3 on Docker 23.0.2 ...
    ▪ Generating certificates and keys ...
    ▪ Booting up control plane ...
    ▪ Configuring RBAC rules ...
🔗  Configuring bridge CNI (Container Networking Interface) ...
    ▪ Using image gcr.io/k8s-minikube/storage-provisioner:v5
🔎  Verifying Kubernetes components...
🌟  Enabled addons: default-storageclass, storage-provisioner
🏄  Done! kubectl is now configured to use "minikube" cluster and "default" namespace by default
Under the hood, Minikube will create your cluster on a VM, container or a bare-metal, that depends on which driver you choose. For this article, we’re running in a container, which is the default.
You can read more about drivers in the docs.
Check your container by listing them:
$ docker ps
CONTAINER ID   IMAGE                                 COMMAND                  CREATED       STATUS       PORTS                                                                                                                                  NAMES
e6333b0b577e   gcr.io/k8s-minikube/kicbase:v0.0.39   "/usr/local/bin/entr…"   7 hours ago   Up 7 hours   127.0.0.1:49162->22/tcp, 127.0.0.1:49161->2376/tcp, 127.0.0.1:49160->5000/tcp, 127.0.0.1:49159->8443/tcp, 127.0.0.1:49158->32443/tcp   minikube
Interact with your cluster
If you have kubectl installed, by now it will be configured to access your new cluster:
$ kubectl get nodes
NAME       STATUS   ROLES           AGE   VERSION
minikube   Ready    control-plane   67m   v1.26.3
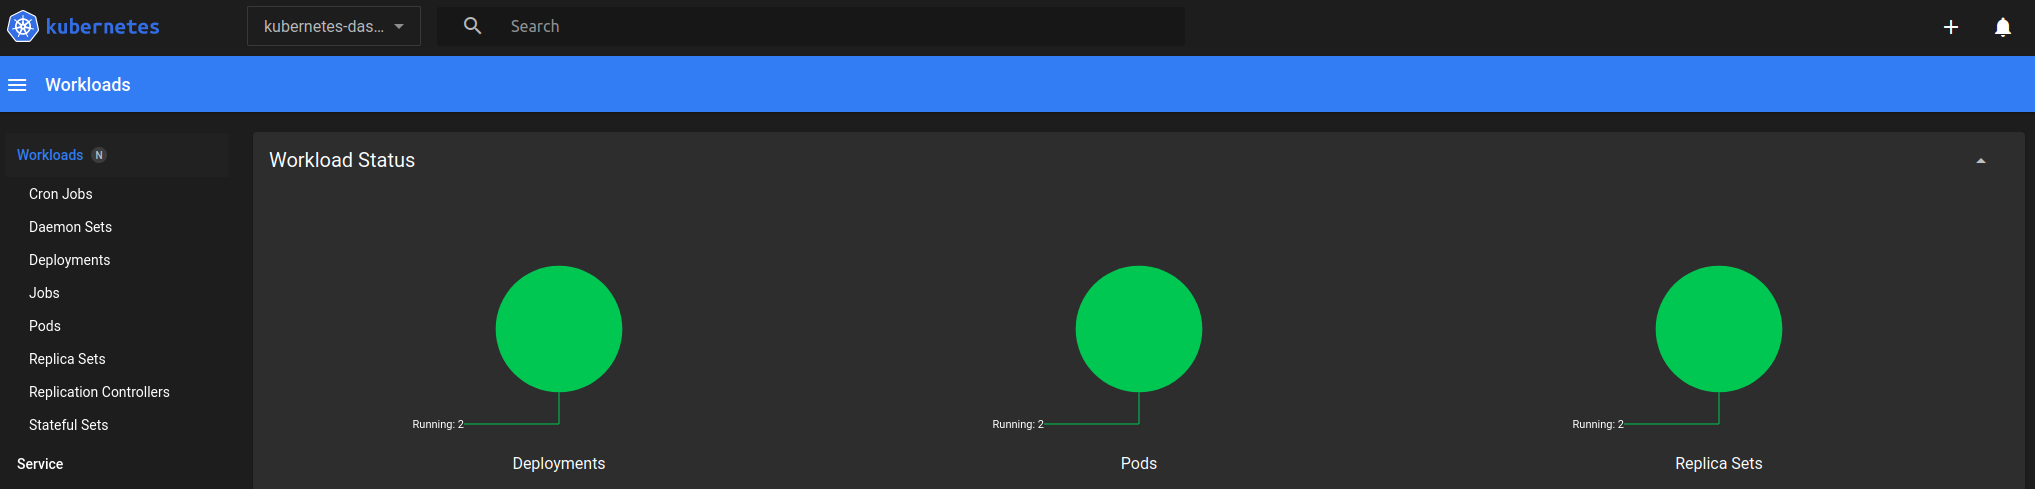
A cool feature from minikube is its dashboard. Use the following command:
$ minikube dashboard
🤔  Verifying dashboard health ...
🚀  Launching proxy ...
🤔  Verifying proxy health ...
🎉  Opening http://......
This will launch the dashboard server where we can see our workloads, and this will be very helpful when developing our services and helm charts 😊.
This is a very basic setup, yet very powerful, I’ll use this as a base for other articles 😈.
References